House Hacks to Keep Cold Air at Bay
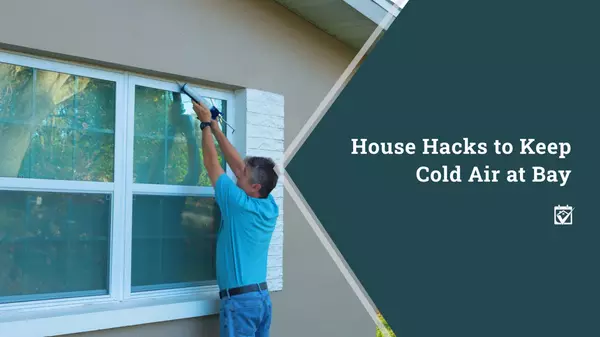
As summer slowly shifts to autumn, cooler days and chilly nights are just around the corner. While this can be a relief after the summer heat, it won’t be as much of a relief when your heating costs start stacking up. Fortunately, it’s possible to prepare in advance to avoid some of the extra costs of winter while still keeping your home comfortable throughout the season. Though there are countless ways to do so and the right options for you will largely depend on your specific home, here are some little things you can do now that will have a big impact on how well your home keeps out the cold air this winter. Prep for the Cold The first thing that you should do when trying to get ready for the coming cold is to make sure you’ve blocked off many of the ways that cold air enters the house. There are a lot of potential fixes and preparations you can make, so here are a few suggestions to give you an idea of the sort of things you should do: Check the caulking and weatherstripping on your doors and windows, making repairs as needed Check the insulation in your attic, replacing any that’s tattered or upgrading all of it to insulation with a higher R value Inspect your roof for signs of damage and repair any leaks or damaged shingles Look for cracks or other damage in both your windowpanes and the frames of the windows Store any window air conditioners or close their vents and cover them with an insulated air conditioner cover Cover windows with a layer of thermal plastic on the inside, using a heat gun or hair dryer to shrink the plastic once it’s in place to create the strongest barrier to heat transfer Place covers or sheets of wall insulation over crawl space doors and other areas where cold air might get under your house These preparations should be done alongside any other winter prep that you do, such as applying insulating pipe covers and covering outdoor faucets to prevent possible pipe freezes. Make Sure Everything Works Alongside your checks to prevent drafts and leaks during the winter, it’s important to spend a little time to make sure that your home’s heat source will run safely once temperatures drop. Here are a few considerations when it comes to testing your home heating: Clean your chimney and have it inspected if you have a fireplace that you plan to use for primary or secondary heating Test your heating system to make sure that it functions properly Replace the batteries in smoke and carbon monoxide detectors and ensure that fire extinguishers are charged and within their effective dates Make sure that external vents for fuel-burning furnaces or heaters function properly so that they won’t stick or stay closed while in use This is also a good time to make sure that all of your emergency supplies are in date, all your flashlights work, and that you have at least two ways to receive weather alerts in case there’s a harsh winter. Get Ready for Winter There are a few inspections that you should really get done around this time of year as well, before temperatures start to drop significantly. The big ones are your roof and your heating system, though having someone look at limbs that hang over your home or that could present a falling hazard during the winter is a good idea as well. HomeKeepr can help you hook up with the pros to get these inspections done. Creating a HomeKeepr account is free, so sign up today to connect with roofers, HVAC pros, and others that can give your home a professional inspection to make sure that you’re ready for whatever this winter might bring. You’ll be glad you did once the cold weather hits.

What's a Plant Ledge
Sometimes, the purpose of features in your home isn’t quite apparent. This can lead to you having an “a-ha!” moment later when the purpose of a seemingly quirky home feature becomes apparent. With some features, though, that moment can take a while to arrive. One feature that might not seem to have a real purpose, if you aren’t already aware of what it’s for, is a plant ledge. Plant ledges were pretty popular in the mid 90s and early 2000s, so homes built or remodeled around this time are likely to have these random high ledges in rooms that may not seem that practical at first glance. You can probably guess to at least some of the purpose from their names, but plant ledges can be used for a number of things. Given that plant shelves and similar storage options are coming back into style, here’s a bit more information on plant ledges and how they can beautify your home. Plant Ledges As the name implies, plant ledges were ledges built into the wall that were typically intended to hold potted plants of some variety. These ledges were placed high on the wall, usually within a foot or so of the ceiling in that space that isn’t often used for shelving and other storage. Some plant ledges had built-in lighting to better illuminate their contents, though this wasn’t the case with all of them. Many homeowners would put silk plants on their plant ledges to reduce the amount of maintenance required to keep them in good shape, but live plants were also used, especially those that don’t require a ton of water or direct sunlight. Depending on where the ledges were installed, they might appear only on a single wall, or could surround a room. In some cases, they even worked their way around fixtures in the room, such as ledges that connected with the tops of cabinets and made their way around the kitchen area. While the plant ledges in a home were placed in areas where they would be seen, most of the ledges themselves were fairly simple in design so as not to take away from the beauty of their contents. Not Just for Plants Though they are known as plant ledges, these high ledges can be used for a wide range of decorative items. Some feature grooves cut into the top ledge surface, allowing decorative plates or similar items to be displayed without a fear of them shifting and falling off the ledge. Vases, awards, and other decorative items can also be placed on the ledges to accent various rooms. Often, people use these ledges to hold a mix of items, including both plants and other pieces, to create a more diverse space. The size, width, and location of the ledges can differ depending on what they’re intended to hold as well. In addition to grooves, spacers and other cutouts can be placed in the ledge to help them hold specific items more safely. Wider ledges also come in handy when it comes to holding bigger items, while thinner ledges are ideal for smaller or thinner pieces that you intend to display. Considering Plant Ledges? With shelves and storage pieces becoming popular as ways to hold plants and other display items, a plant ledge might sound great for some of the rooms in your home. They tend to take a bit more work to install than just a simple shelf, but the look that they create is typically worth the extra effort. You can talk with a contractor or remodeling expert to see how best to incorporate plant ledges into your home. HomeKeepr can help you to find the contractor you need to get this done as well. Signing up for a new account is free, so join today and get started planning your new look with plant ledges in your home.

Installing a Freestanding Stove? Safety First!
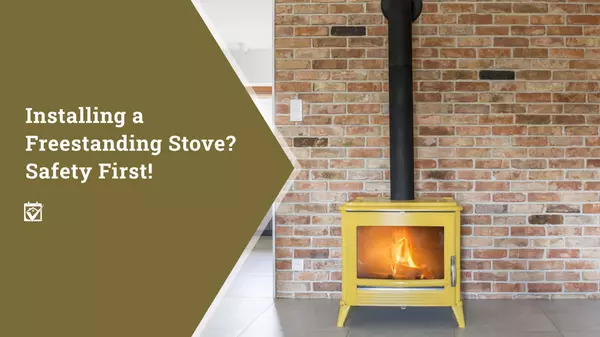
A woodburning stove can be a great addition to your home. Not only do they provide non-electric sources of heat during the winter, but many people enjoy the dry heat provided by woodburning stoves and similar heaters and they aren’t limited to the old-school cast iron stoves. Modern woodburning stoves come in a number of styles and forms, including pellet stoves that use small wooden pellets for a more controlled burn and more manageable heat options. While there are certainly advantages to freestanding wood stoves, it’s important that they’re installed and used safely. It should go without saying that an improperly installed or operated wood stove can be very dangerous. To keep you, your family, and your home safe, here are some things that you should keep in mind when considering installing a freestanding wood stove or pellet stove. Finding the Right Spot Location is important when it comes to installing a wood stove. Obviously you’re going to want to put your stove in a location where you want heat, but there’s more to picking the right place than that. You’re going to need to find a place where your stove can provide that heat safely without creating a fire hazard or potentially creating a dangerous situation for people or pets moving through the room. A big part of this involves finding an area with enough clearance for the stove. This is the amount of room around the stove that needs to be kept clear of flammable items and surfaces that might catch fire if they get too hot. This will differ from stove to stove, but it will be listed among the stove’s specs and other important information. The clearance indicates how far the stove needs to be placed from bare walls, and should also be considered with respect to furniture, walkways, and other areas where household items and inhabitants might be. If there isn’t enough room to give the stove the clearance it needs, you’ll have to find another location for it.
Categories
- All Blogs (118)
- Appliances (9)
- Bathroom Remodeling (8)
- Buying (11)
- Cabinet Specialists (8)
- Cleaning (12)
- Decks and Patios (9)
- Decluttering (8)
- Electrical (14)
- finance (8)
- Fireplace (8)
- Flooring (9)
- Foundation (8)
- Garage Doors (8)
- Garage Specialist (7)
- General Contracting (24)
- Handyman (9)
- Heating and Air-Conditioning (21)
- home (12)
- Home Improvement (35)
- Home Safety (12)
- Home Stagers (7)
- homedecor (11)
- house (11)
- Insulation (9)
- Insurance (11)
- Interior Decorating (17)
- interiordesign (12)
- Kitchen Remodeling (9)
- Landscaping (20)
- Lender (6)
- Mortgage (13)
- Paint (7)
- Painting (13)
- Pest Control (7)
- Plumbing (14)
- Pool (7)
- Roofing (9)
- selling (15)
- Smart Home (8)
- Windows (9)
- Winter Prep (7)
Recent Posts


